


Introduction to Next.js
Next.js is an open-source React framework for building server-rendered, statically generated, or client-side rendered web applications. It provides a set of features and tools to simplify the development process and optimize performance, including automatic code splitting, optimized image loading, server-side rendering, and more. Next.js also offers built-in support for popular technologies like CSS modules, TypeScript, and GraphQL. It is commonly used for building complex web applications, e-commerce sites, blogs, and more.
What is Firebase?
Firebase is a Backend-as-a-Service (BaaS) platform developed by Google that provides a suite of tools and services for building and managing web and mobile applications. It includes features such as a real-time database, cloud storage, authentication, hosting, and more. Firebase offers a simple and scalable way to handle complex backend functionality without the need for custom server code or infrastructure management. It is commonly used by developers for building real-time applications, web and mobile app backends, and serverless functions.
Why integrate Firebase with Next.js?
Integrating Firebase with Next.js can bring a range of benefits for building web applications. Here are some of the main reasons why you might want to consider this integration:
- Real-time updates: Firebase provides a real-time database and other real-time services that can be useful for applications that require real-time updates, such as chat apps or collaborative tools. By integrating Firebase with Next.js, you can take advantage of these real-time capabilities.
- Serverless functions: Firebase also offers serverless functions, which allow you to run backend code without managing your own servers. By using Firebase's serverless functions with Next.js, you can add dynamic functionality to your application without worrying about infrastructure.
- Authentication: Firebase provides a range of authentication methods, including email/password, social login, and multi-factor authentication. By integrating Firebase authentication with Next.js, you can add secure user authentication to your application.
- Analytics and performance monitoring: Firebase includes tools for tracking analytics and monitoring application performance. By integrating Firebase with Next.js, you can gain insights into how your application is being used and identify areas for improvement.
- Cloud storage: Firebase offers cloud storage, which can be useful for storing files and other data in the cloud. By integrating Firebase cloud storage with Next.js, you can easily store and retrieve data from the cloud.
Overall, integrating Firebase with Next.js can provide a powerful and flexible platform for building web applications with real-time capabilities, serverless functions, authentication, analytics, and cloud storage.
Setting up a Firebase project
Setting up a Firebase project involves a few basic steps:
- Create a Firebase account: If you don't already have a Firebase account, you can create one for free at https://firebase.google.com/. Follow the prompts to sign up and create a new Firebase project.
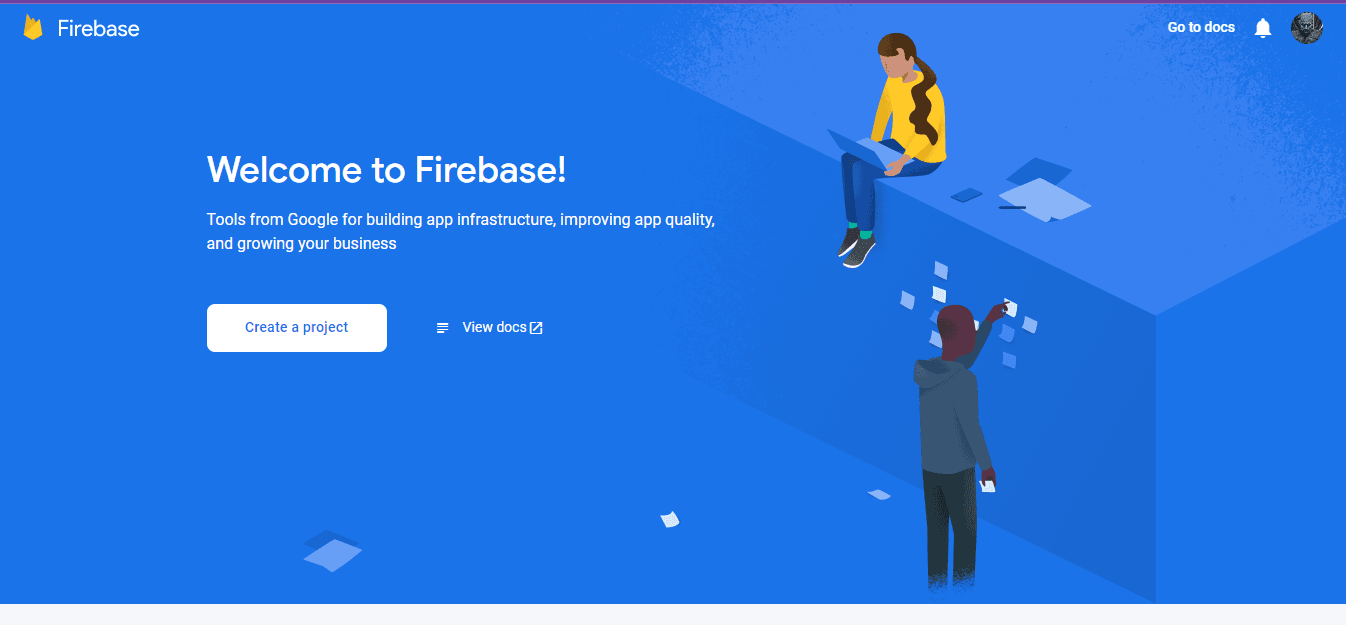
Click on Create Project
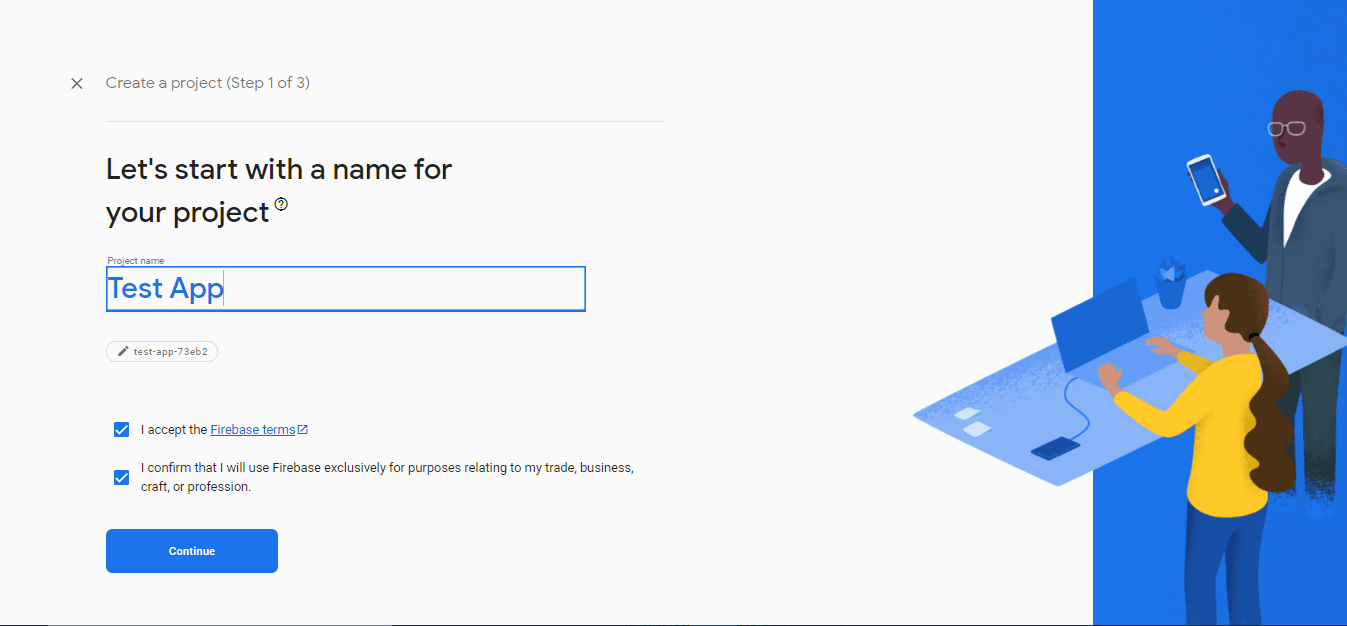
give the project name
Set up your project: Once you have created your Firebase project, you will be taken to the Firebase console. From here, you can add Firebase to your app, set up Firebase services such as Authentication, Database, Storage, and Hosting, and manage your project settings.
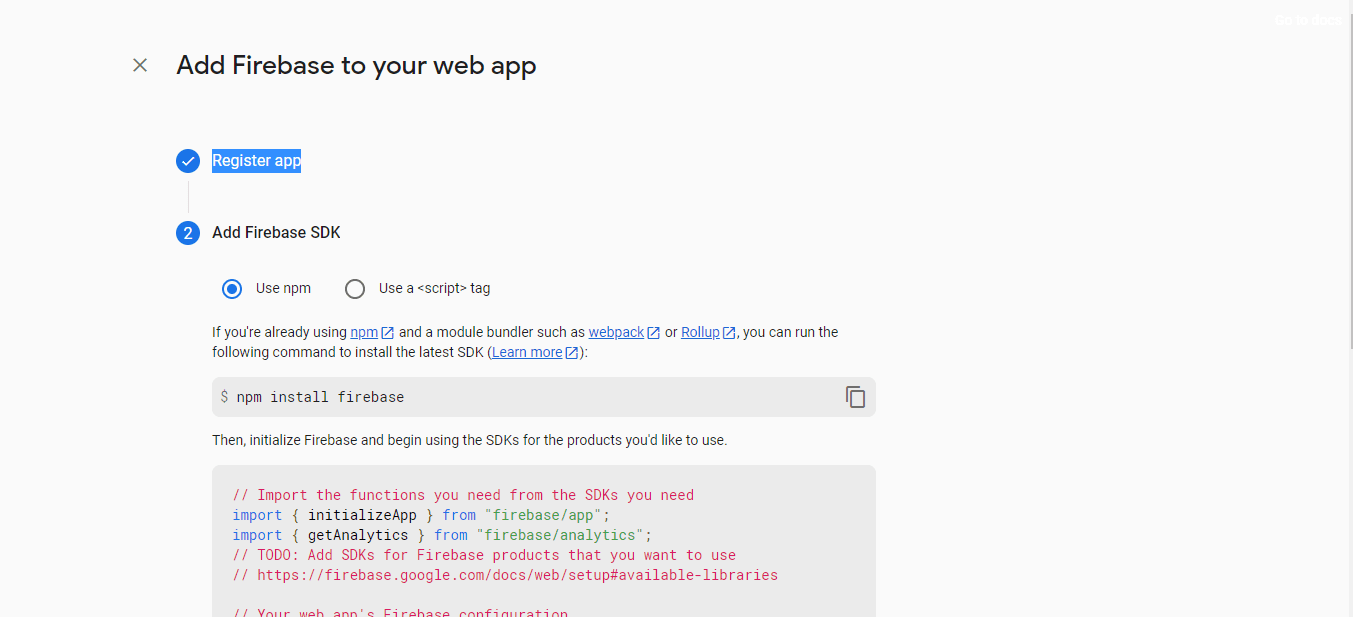
first, select the web app and give a name to your web app, after that enable the required services like authentication and database.
Creating a NextJS project
To create a Next.js project, you can follow these steps:
Install Node.js and npm on your computer if you haven't already done so. You can download and install them from the official Node.js website.
create a Next.js project using create-next-app, which is a command-line tool that sets up a new Next.js project with a basic template and project structure. Here's how to do it:
- Open your terminal or command prompt.
- Run the following command to create the next js app:
npx create-next-app firebase-next- This will create a new Next.js project. Once the installation is complete, navigate to the newly created directory:
cd firebase-nextInstalling and configuring Firebase in Next.js
To install and configure Firebase in a Next.js project using the firebase npm package, follow these steps:
- Create a new Firebase project or use an existing one by going to the Firebase console.
- In your Next.js project directory, run the following command to install the
firebasepackage:
npm install firebaseIn your Next.js project directory, create a folder called lib, and inside that folder, create a file named firebase.js
import the Firebase SDK and initialize it with your Firebase project configuration. You can get your project configuration from the Firebase console. (Put all secret keys in the environment variables)
import { initializeApp } from "firebase/app";

const firebaseConfig = {
  apiKey: process.env.NEXT_PUBLIC_FIREBASE_PUBLIC_API_KEY,
  authDomain: process.env.NEXT_PUBLIC_FIREBASE_AUTH_DOMAIN,
  databaseURL: process.env.NEXT_PUBLIC_FIREBASE_DATABASE_URL,
  projectId: process.env.NEXT_PUBLIC_FIREBASE_PROJECT_ID,
  storageBucket: process.env.NEXT_PUBLIC_FIREBASE_STORAGE_BUCKET,
  messagingSenderId: process.env.NEXT_PUBLIC_FIREBASE_MESSAGING_SENDER_ID,
  appId: process.env.NEXT_PUBLIC_FIREBASE_APP_ID,
  measurementId: process.env.NEXT_PUBLIC_FIREBASE_MEASUREMENT_ID,
};
after that create a function that returns the initialized firebase app, auth.
const GetFireBaseAdmin = () => {
  const app = initializeApp(firebaseConfig);
  const auth = getAuth(app);
  const db = getFirestore(app);
  return { app, auth, db };
};
in the project root directory create a folder called context, and in that folder create a file named AuthContext.js and paste the following code
import { createContext } from "react";
import GetFireBaseAdmin from "../lib/firebase";
export const AuthContext = createContext(null);

function Context({ children }) {
    const {auth, db} = GetFireBaseAdmin();
  return (
    <AuthContext.Provider value={{ auth, db }}>
      {children}
    </AuthContext.Provider>
  );
}

export default Context;
now in the _app.js file use the context provider
import Context from "../context/AuthContext";

function MyApp({ Component, pageProps }) {
  return  <Context>
    <Component {...pageProps} />
  </Context>
}

export default MyApp
This context will provide the Firebase configuration to all of the components in your Next.js application.
Setting up authentication with Firebase and Next.js
To set up authentication with Firebase and Next.js, you can follow these steps:
- Enable the authentication method(s) you want to use (e.g., email/password, Google, etc.) by going to the "Authentication" section of the Firebase console.
- In your
firebase.jsfile import the following
import {
  GoogleAuthProvider,
  getAuth,
  signInWithPopup,
  signInWithEmailAndPassword,
  createUserWithEmailAndPassword,
  sendPasswordResetEmail,
  confirmPasswordReset,
  signOut,
} from "firebase/auth";
import {
  getFirestore,
  query,
  getDocs,
  collection,
  where,
  addDoc,
} from "firebase/firestore";
after importing all javascript modules create authentication functions
const signInWithGoogle = async (auth, db) => {
  try {
    const googleProvider = new GoogleAuthProvider();
    const res = await signInWithPopup(auth, googleProvider);
    const user = res.user;
    const q = query(collection(db, "users"), where("uid", "==", user?.uid));
    const docs = await getDocs(q);
    if (docs.docs.length === 0) {
      await addDoc(collection(db, "users"), {
        uid: user?.uid,
        name: user?.displayName,
        authProvider: "google",
        email: user?.email,
        photoURL: user?.photoURL || "",
      });
    }
    return { status: true };
  } catch (err) {
    return { status: false, err: err };
  }
};
const registerWithEmailAndPassword = async (
  auth,
  db,
  name,
  email,
  password
) => {
  try {
    await createUserWithEmailAndPassword(auth, email, password)
      .then(async function (result) {
        const user = result.user;
        await addDoc(collection(db, "users"), {
          uid: user?.uid,
          name,
          authProvider: "local",
          email,
          photoURL: user?.photoURL || "",
        });
        return { status: true };
      })
      .catch(function (error) {
        return { status: false, err: err };
      });
  } catch (err) {
    return { status: false, err: err };
  }
};

const logInWithEmailAndPassword = async (auth, email, password) => {
  try {
    await signInWithEmailAndPassword(auth, email, password);
    return { status: true, message: "Success" };
  } catch (err) {
    return { status: false, err: err };
  }
};

const sendPasswordReset = async (auth, email) => {
  try {
    await sendPasswordResetEmail(auth, email);
    return { status: true };
  } catch (err) {
    return { status: false, err: err };
  }
};

const ResetPasswordByLink = async (auth, code, newPassword) => {
  try {
    await confirmPasswordReset(auth, code, newPassword);
    return { status: true };
  } catch (err) {
    return { status: false, err: err };
  }
};

const logout = (auth) => {
  signOut(auth);
  return { status: true };
};

export {
  signInWithGoogle,
  logInWithEmailAndPassword,
  logout,
  registerWithEmailAndPassword,
  sendPasswordReset,
  ResetPasswordByLink,
};
now your firebase file looks like this
import { initializeApp, getApp } from "firebase/app";
import {
  GoogleAuthProvider,
  getAuth,
  signInWithPopup,
  signInWithEmailAndPassword,
  createUserWithEmailAndPassword,
  sendPasswordResetEmail,
  confirmPasswordReset,
  signOut,
} from "firebase/auth";
import {
  getFirestore,
  query,
  getDocs,
  collection,
  where,
  addDoc,
} from "firebase/firestore";
// Initialize Firebase
const firebaseConfig = {
  apiKey: process.env.NEXT_PUBLIC_FIREBASE_PUBLIC_API_KEY,
  authDomain: process.env.NEXT_PUBLIC_FIREBASE_AUTH_DOMAIN,
  databaseURL: process.env.NEXT_PUBLIC_FIREBASE_DATABASE_URL,
  projectId: process.env.NEXT_PUBLIC_FIREBASE_PROJECT_ID,
  storageBucket: process.env.NEXT_PUBLIC_FIREBASE_STORAGE_BUCKET,
  messagingSenderId: process.env.NEXT_PUBLIC_FIREBASE_MESSAGING_SENDER_ID,
  appId: process.env.NEXT_PUBLIC_FIREBASE_APP_ID,
  measurementId: process.env.NEXT_PUBLIC_FIREBASE_MEASUREMENT_ID,
};

const GetFireBaseAdmin = () => {
  const app = initializeApp(firebaseConfig);
  const auth = getAuth(app);
  const db = getFirestore(app);
  return { app, auth, db };
};

const signInWithGoogle = async (auth, db) => {
  try {
    const googleProvider = new GoogleAuthProvider();
    const res = await signInWithPopup(auth, googleProvider);
    const user = res.user;
    const q = query(collection(db, "users"), where("uid", "==", user?.uid));
    const docs = await getDocs(q);
    if (docs.docs.length === 0) {
      await addDoc(collection(db, "users"), {
        uid: user?.uid,
        name: user?.displayName,
        authProvider: "google",
        email: user?.email,
        photoURL: user?.photoURL || "",
      });
    }
    return { status: true };
  } catch (err) {
    return { status: false, err: err };
  }
};

const registerWithEmailAndPassword = async (
  auth,
  db,
  name,
  email,
  password
) => {
  try {
    await createUserWithEmailAndPassword(auth, email, password)
      .then(async function (result) {
        const user = result.user;
        await addDoc(collection(db, "users"), {
          uid: user?.uid,
          name,
          authProvider: "local",
          email,
          photoURL: user?.photoURL || "",
        });
        return { status: true };
      })
      .catch(function (error) {
        return { status: false, err: err };
      });
  } catch (err) {
    return { status: false, err: err };
  }
};

const logInWithEmailAndPassword = async (auth, email, password) => {
  try {
    await signInWithEmailAndPassword(auth, email, password);
    return { status: true, message: "Success" };
  } catch (err) {
    return { status: false, err: err };
  }
};

const sendPasswordReset = async (auth, email) => {
  try {
    await sendPasswordResetEmail(auth, email);
    return { status: true };
  } catch (err) {
    return { status: false, err: err };
  }
};

const ResetPasswordByLink = async (auth, code, newPassword) => {
  try {
    await confirmPasswordReset(auth, code, newPassword);
    return { status: true };
  } catch (err) {
    return { status: false, err: err };
  }
};

const logout = (auth) => {
  signOut(auth);
  return { status: true };
};

export {
  signInWithGoogle,
  logInWithEmailAndPassword,
  logout,
  registerWithEmailAndPassword,
  sendPasswordReset,
  ResetPasswordByLink,
};
export default GetFireBaseAdmin;
Here are a brief description of used Firebase Authentication functions and their purposes:
signInWithGoogle
The signInWithGoogle the function allows users to sign in to your application using their Google account.
logInWithEmailAndPassword
The logInWithEmailAndPassword function allows users to log in using their email and password.
logout
The logout function logs out the current user and takes no parameters. It doesn't return any values.
registerWithEmailAndPassword
The registerWithEmailAndPassword function allows new users to register using their email and password.
sendPasswordReset
The sendPasswordReset function sends a password reset email to the specified email address.
ResetPasswordByLink
This function allows users to reset their password using a password reset link sent to their email.
Using Authentication functions in the Next app
- Using Signup/Signin with Google
import {signInWithGoogle } from "../lib/firebase";
import { AuthContext } from "../context/AuthContext";
import React, { useContext } from "react";


function Signup() {
  const { auth, db } = useContext(AuthContext);
  const handleSignInWithGoogle = () => {
    cosnt data = await signInWithGoogle(auth, db);
    if(data.status){
      alert("Signup Suceess")
    }else{
      alert("Signup Suceess")
    }
  };

  return (
    <button onClick={handleSignInWithGoogle}>
      Sign in with Google
    </button>
  );
}

export default Signup- Using Signup with Email and Password
import React, { useState } from 'react';
import { registerWithEmailAndPassword } from "../lib/firebase";
import { AuthContext } from "../context/AuthContext";
import React, { useContext } from "react";

function SignupForm() {
  const { auth, db } = useContext(AuthContext);
  const [formData, setFormData] = useState({
    name: '',
    email: '',
    password: ''
  });

  const handleChange = (e) => {
    setFormData({
      ...formData,
      [e.target.name]: e.target.value
    });
  };

  const handleSubmit = async (e) => {
    e.preventDefault();
    const data = await registerWithEmailAndPassword(
      auth,
      db,
      formData.name,
      formData.email,
      formData.password
    );
    if(data.status){
      alert("Signup Suceess")
    }else{
      alert("Signup Failed")
    }
  };

  return (
    <form onSubmit={handleSubmit}>
      <label>
        Name:
        <input type="text" name="name" value={formData.name} onChange={handleChange} />
      </label>
      <label>
        Email:
        <input type="email" name="email" value={formData.email} onChange={handleChange} />
      </label>
      <label>
        Password:
        <input type="password" name="password" value={formData.password} onChange={handleChange} />
      </label>
      <button type="submit">Sign up</button>
    </form>
  );
}

export default SignupForm;
- Using Login with Email and Password
import React, { useState } from 'react';
import { logInWithEmailAndPassword } from "../lib/firebase";
import { AuthContext } from "../context/AuthContext";
import React, { useContext } from "react";

function LoginForm() {
  const { auth, db } = useContext(AuthContext);
  const [formData, setFormData] = useState({
    email: '',
    password: ''
  });

  const handleChange = (e) => {
    setFormData({
      ...formData,
      [e.target.name]: e.target.value
    });
  };

  const handleSubmit = async (e) => {
    e.preventDefault();
    const data = await logInWithEmailAndPassword(
      auth,
      formData.email,
      formData.password
    );
    if(data.status){
      alert("Login Suceess")
    }else{
      alert("Login failed")
    }
  };

  return (
    <form onSubmit={handleSubmit}>
      <label>
        Email:
        <input type="email" name="email" value={formData.email} onChange={handleChange} />
      </label>
      <label>
        Password:
        <input type="password" name="password" value={formData.password} onChange={handleChange} />
      </label>
      <button type="submit">Login up</button>
    </form>
  );
}

export default LoginForm;
- using Logout
import React, { useState } from 'react';
import { logout } from "../lib/firebase";
import { AuthContext } from "../context/AuthContext";

function Logout() {
  const { auth } = useContext(AuthContext);
  const handleLogout = () => {
    logout(auth);
  };

  return (
    <div>
        <div>
          <button onClick={handleLogout}>Logout</button>
        </div>
    </div>
  );
}

export default Logout;
- using send a password reset link
import React, { useState } from 'react';
import { useRouter } from "next/router";
import { ResetPasswordByLink } from "../lib/firebase";
import { AuthContext } from "../context/AuthContext";

function PasswordForgotForm() {
  const [email, setEmail] = useState('');
  const router = useRouter();
  const { oobCode } = router.query;
  const handleSubmit = async (e) => {
    e.preventDefault();
    const data = await ResetPasswordByLink(
        auth,
        email
    );
    if(data.status){
      alert("Reset Link Sent")
    }else{
      alert("Reset Link Sent Failed")
    }
  };

  return (
    <div>
      <h2>Reset Password</h2>
      <form onSubmit={handleSubmit}>
        <label>
          Email:
          <input type="email" value={email} onChange={(e) => setEmail(e.target.value)} />
        </label>
        <button type="submit">Send Password Reset Email</button>
      </form>
    </div>
  );
}

export default PasswordForgotForm;
- using reset Password by Link
import React, { useState } from 'react';
import { useRouter } from "next/router";
import { ResetPasswordByLink } from "../lib/firebase";
import { AuthContext } from "../context/AuthContext";

function ResetPasswordForm() {
  const [newpassowrd, setNewpassword] = useState('');
  const router = useRouter();
  const { oobCode } = router.query;
  const handleSubmit = async (e) => {
    e.preventDefault();
    const data = await ResetPasswordByLink(
        auth,
        oobCode,
        newpassowrd
    );
    if(data.status){
      alert("Reset Suceess")
    }else{
      alert("Reset failed")
    }
  };

  return (
    <div>
      <h2>Reset Password</h2>
      <form onSubmit={handleSubmit}>
        <label>
          Password
          <input type="password" value={newpassowrd} onChange={(e) => setNewpassword(e.target.value)} />
        </label>
      </form>
    </div>
  );
}

export default ResetPasswordForm;
Conclusion: Recap and Next Steps.
In this post, we've covered the basics of integrating Firebase with Next.js. We also looked at how to use Firebase Cloud Firestore to store and retrieve data in a Next.js app.
By integrating Firebase with Next.js, you can take advantage of Firebase's powerful backend services while leveraging Next.js's fast and efficient server-side rendering capabilities. This can help you build high-performing web applications with ease.
Next Steps: If you're new to Next.js or Firebase, you may want to explore their official documentation to learn more about their capabilities and features. You can also experiment with the sample code provided in this post and customize it to fit your needs.
Additionally, you may want to explore other Firebase services like Firebase Storage or Firebase Functions to add more functionality to your Next.js app. And if you're interested in exploring other frameworks for building web applications, you might want to check out React, Angular, or Vue.js.
Remember, the key to successful web development is continuous learning and experimentation. So keep exploring and building!